¶ When to Use this Guide
- When the Drone crashes and the camera lens is scratched or damaged by impact.
¶ Quick Note
The lens refers to the glass lens mounted at the front of the camera, not the entire camera. Some users refer to the whole camera as the lens, which is incorrect and can easily cause confusion.
¶ Preparation
¶ What You Need
- Needle-nose pliers
- A replacement lens
- A hot air gun
¶ Procedure
Not all cameras use a retaining ring to prevent the lens from loosening. Some cameras use adhesive to secure the lens more firmly.
¶ Retaining Ring
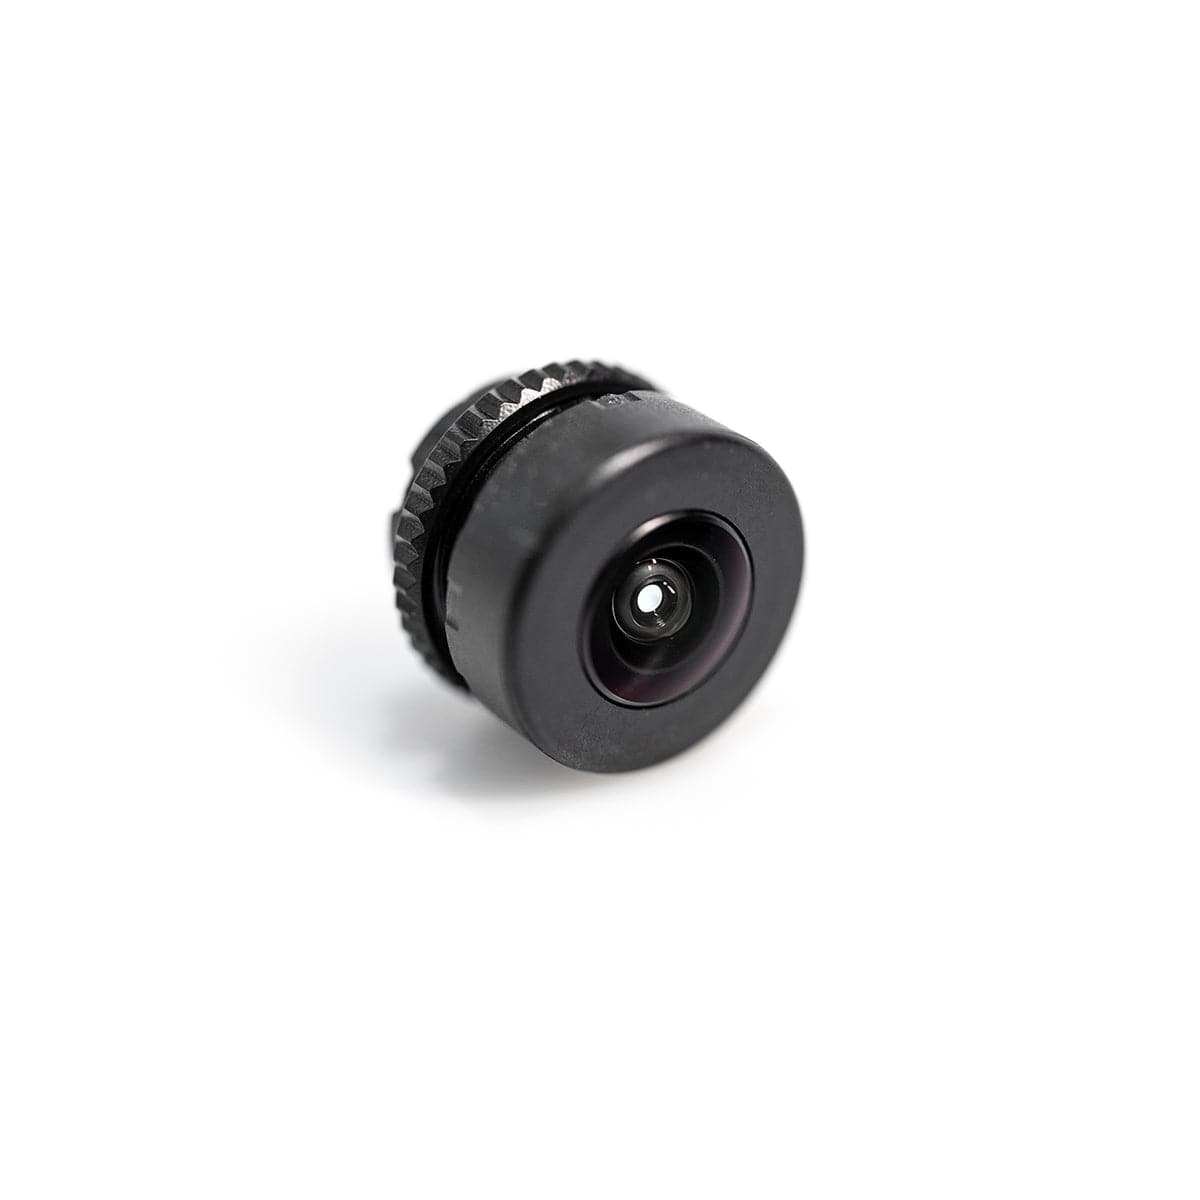
- As shown below, this type of lens has a retaining ring on the threaded section. Its purpose is to lock the lens in place and prevent it from loosening.
- To remove the camera lens, position the lens facing toward you, then use needle-nose pliers to rotate the retaining ring counterclockwise to loosen it.
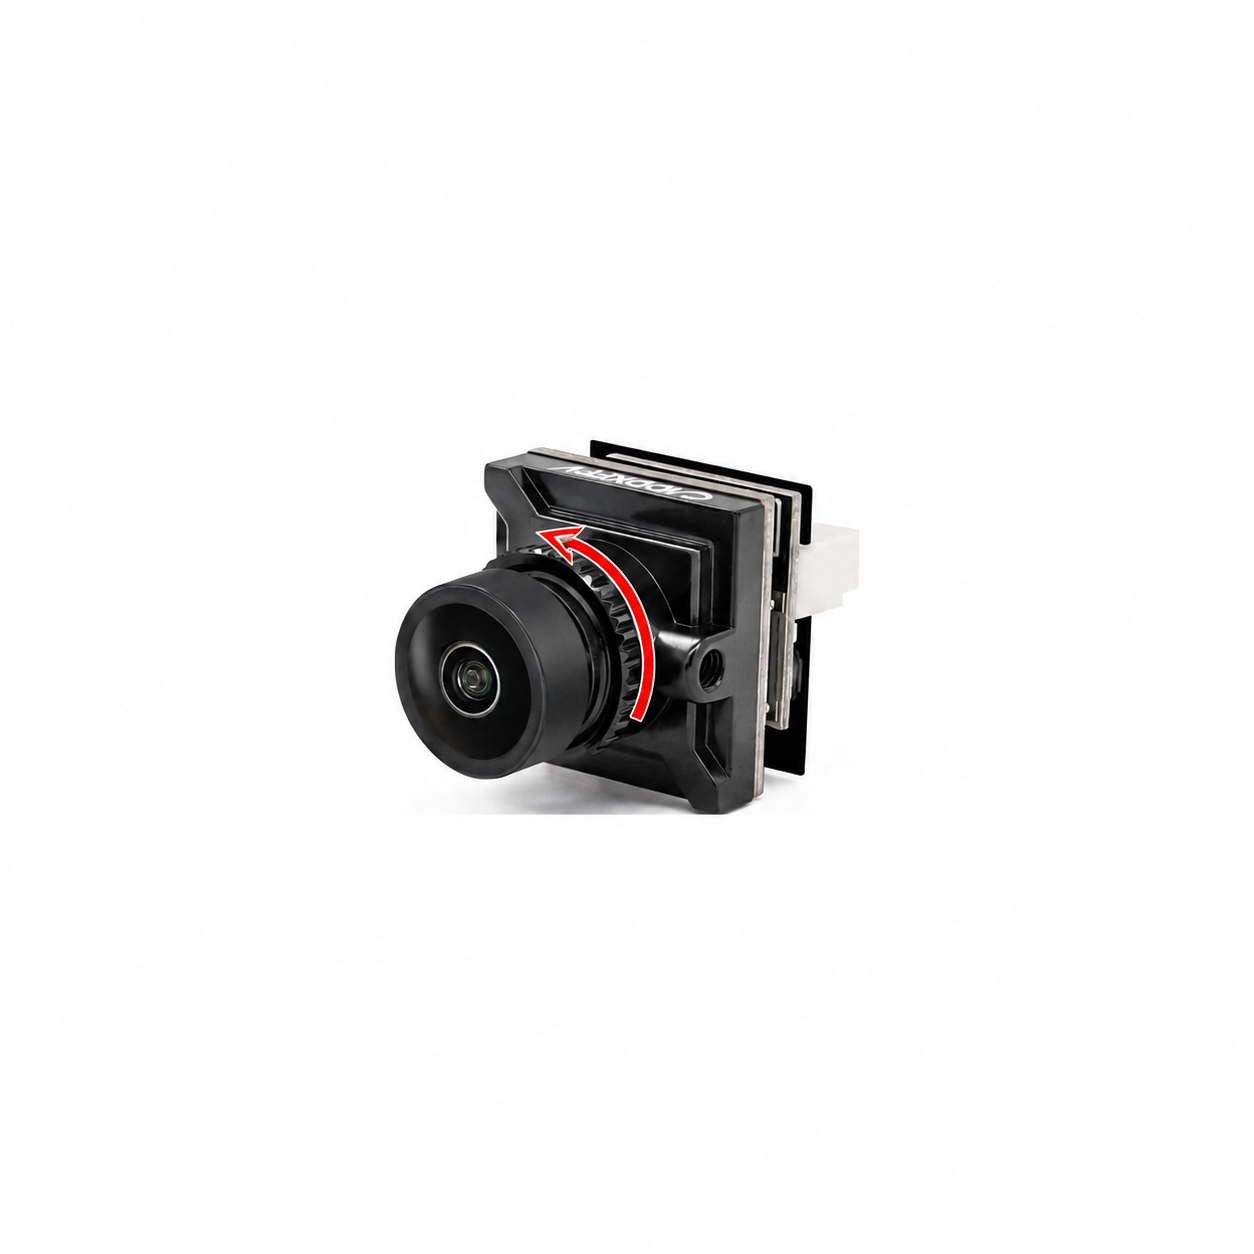
- After removing the old lens, rotate the new lens clockwise to install it. Connect the camera to the goggles/display and monitor the image while rotating the lens until the image is clear and sharp.
- Then hold the camera body and lens firmly with one hand, and use needle-nose pliers with the other hand to rotate the retaining ring clockwise until it is securely tightened.
¶ Adhesive-Secured Lens
It is not recommended for users to replace an adhesive-secured lens themselves. This procedure requires experience and proper technique, and incorrect operation may cause further damage to the camera. It is recommended to contact after-sales support for lens replacement.
- If possible, contact customer support and purchase a replacement camera housing together with the new lens.
- Use a hot air gun to heat the camera lens area and soften the UV adhesive. Then rotate the old lens counterclockwise to remove it. Clean off any remaining adhesive, install the new lens, adjust the focus until the image is clear, then apply new UV adhesive and cure it.
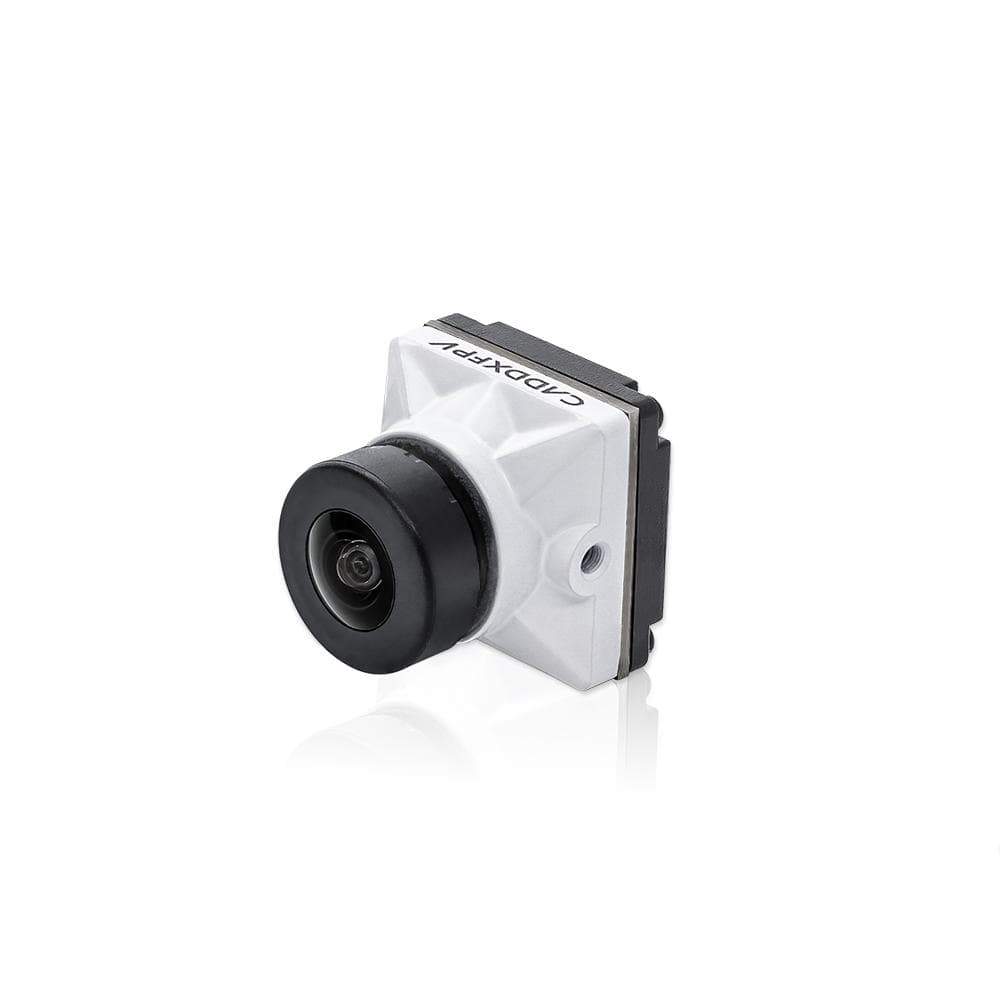
- As shown below, this camera lens does not use a retaining ring and is secured with adhesive instead.
¶ Notes
It is recommended to contact after-sales support for repair rather than attempting the repair yourself.