¶ When to Use This Guide
- The Avatar Goggles X feature HDMI input and can be connected to a computer for use as an external display for watching videos and other entertainment.
- They can also be connected to a VRX from another HD FPV system, allowing the goggles to display video from different digital FPV systems.
¶ Required Accessories
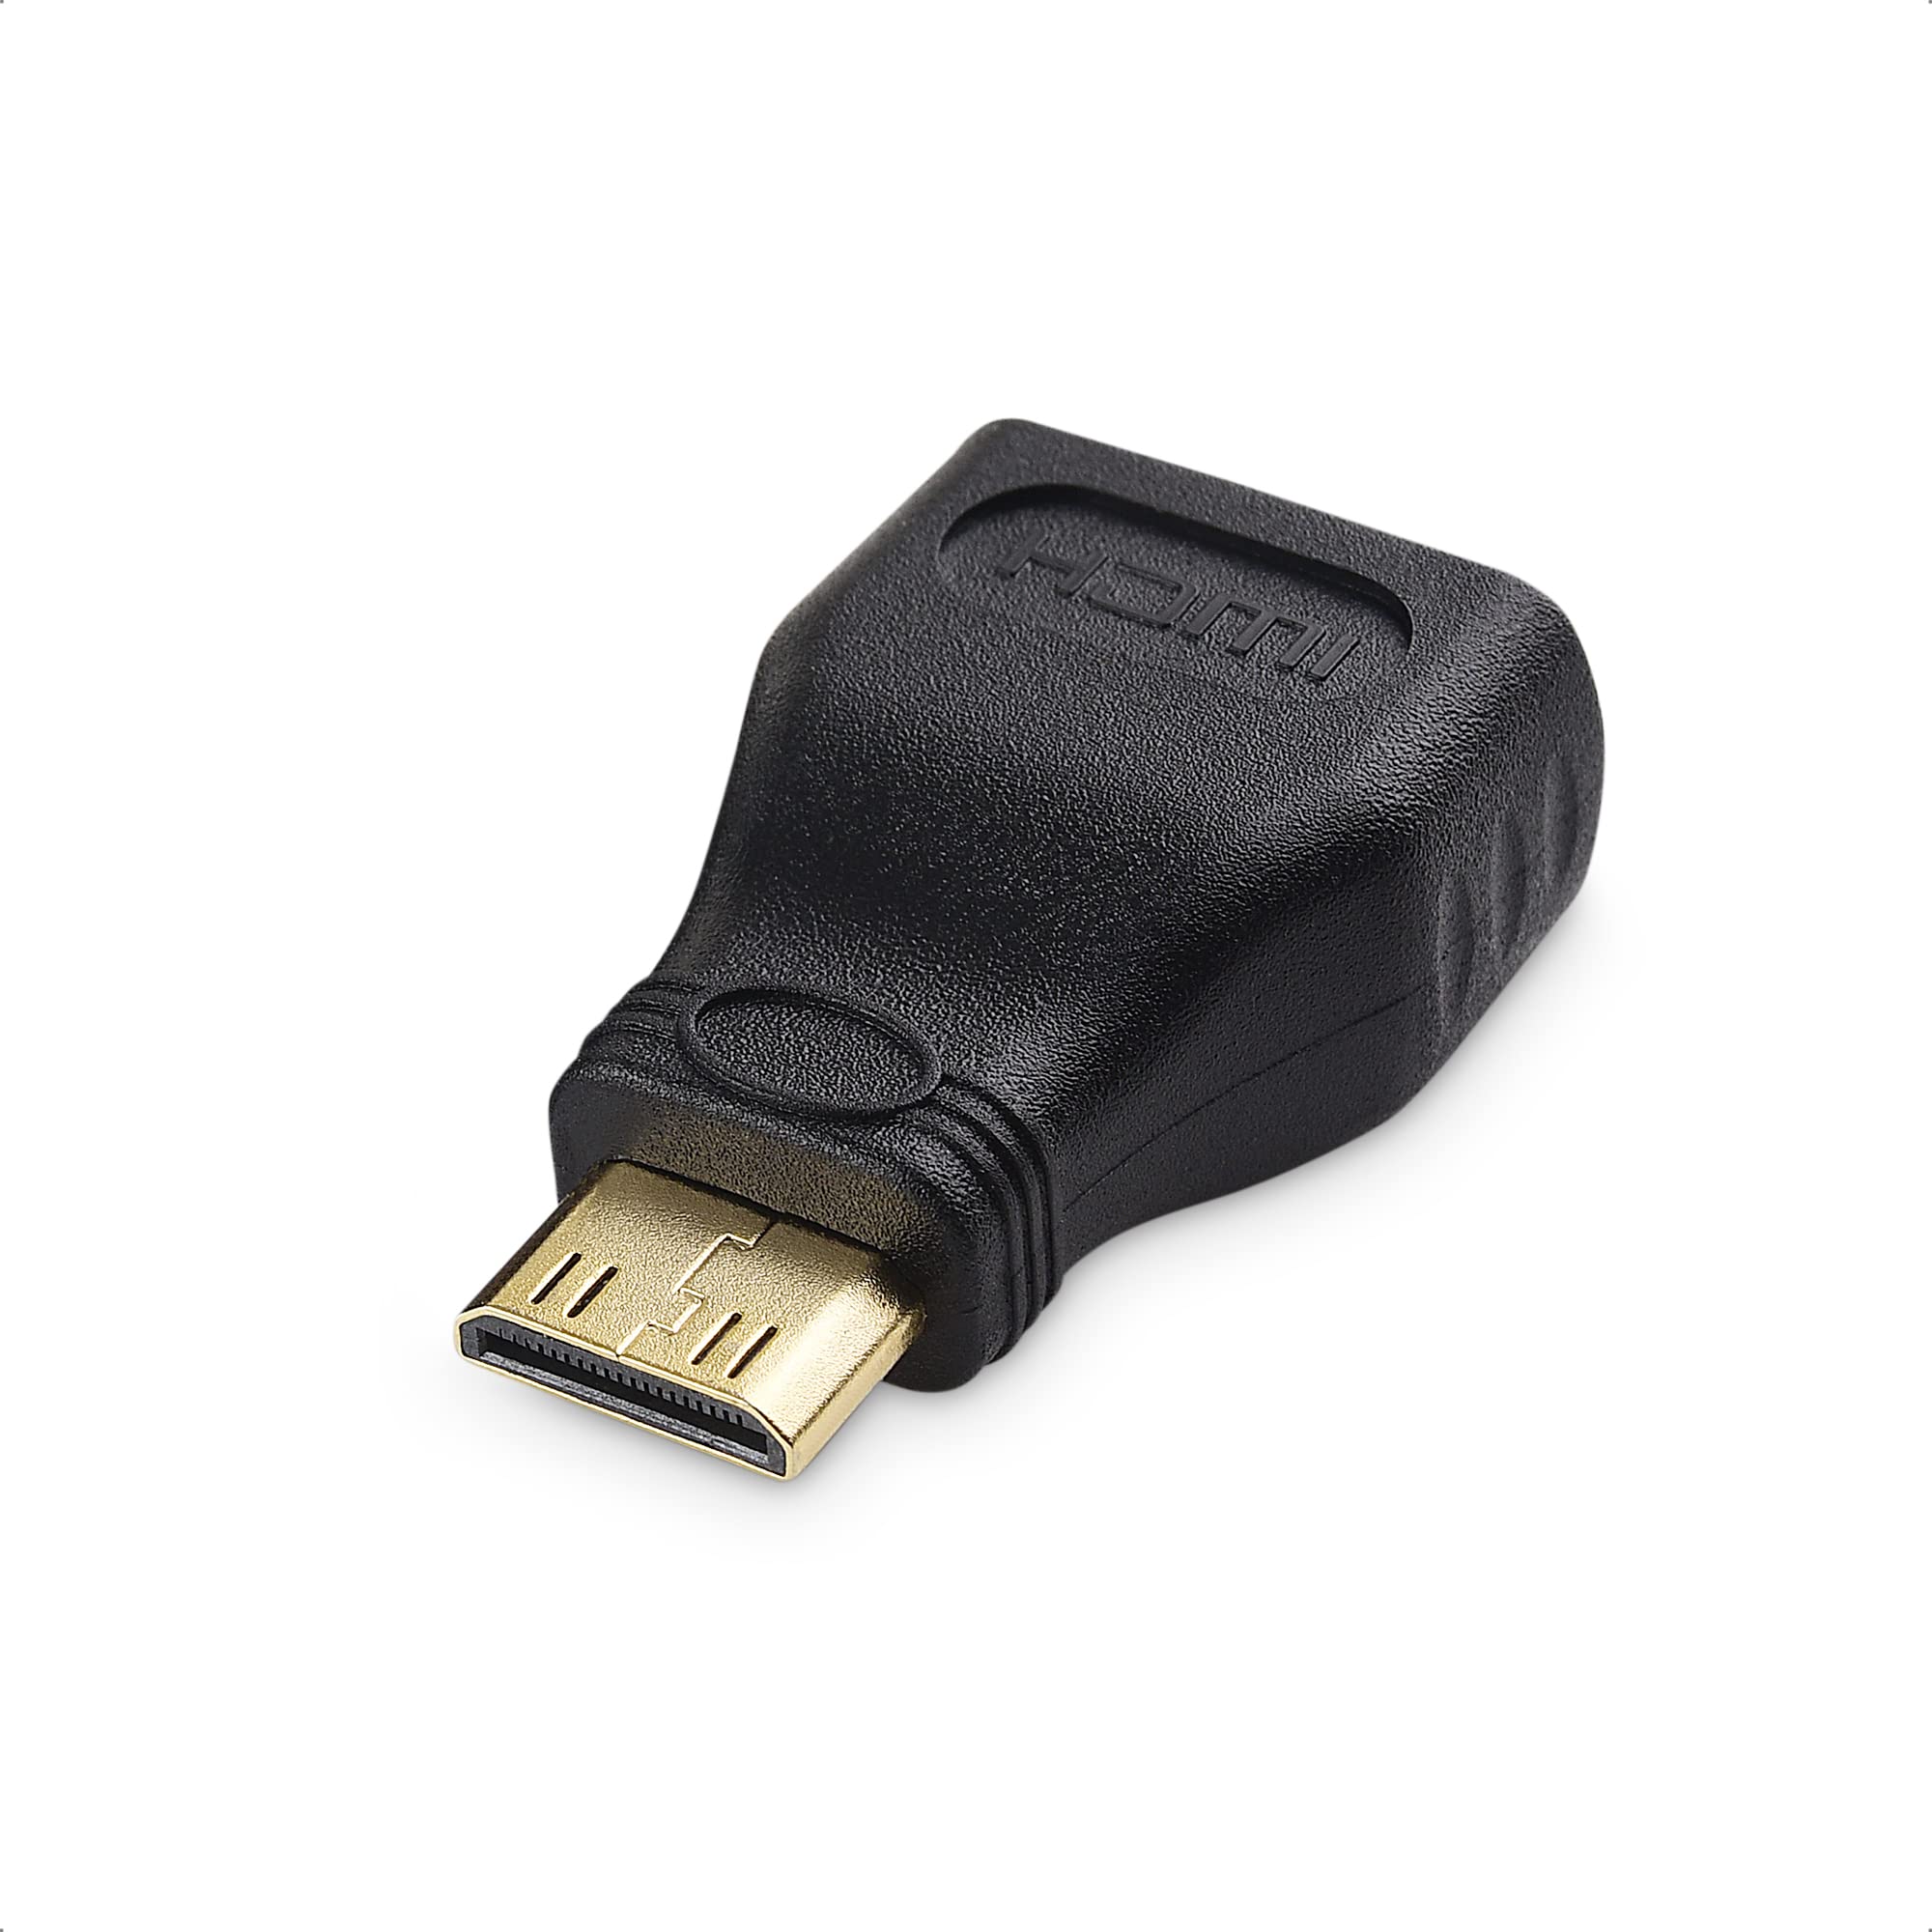
- The Avatar Goggles X use a Mini HDMI port. A Mini HDMI-to-full-size HDMI adapter is recommended.
- Ensure that the plastic housing around the Mini HDMI connector is thin enough. If the housing is too thick, the connector may not fully insert into the Goggles X port, resulting in an unstable connection.
- If necessary, carefully trim away excess plastic around the connector so that it can be fully inserted.
¶ Setup Procedure
¶ Step 1: Connect the HDMI Cable
- Connect the HDMI adapter and cable between the video source and the HDMI IN port on the Goggles X.
¶ Step 2: Switch Operating Modes
- Press and hold the Back button for three seconds to switch the operating mode of the Goggles X.
- The first switch displays a blue screen, indicating CVBS Mode. Repeat the operation until the screen turns black, indicating HDMI Mode.
¶ Step 3: Configure the Computer
- After the goggles enter HDMI Mode, the computer will detect them as an external display.
- HDMI input supports resolutions and refresh rates of up to 1080p/100 fps.
¶ Additional Features
- The Avatar Goggles X support simultaneous HDMI input and output. When devices are connected to both HDMI IN and HDMI OUT, the HDMI output mirrors the incoming HDMI signal.
¶ Important Notes
- The system remembers the previously selected operating mode. If the goggles are powered off in HDMI Mode, they will remain in HDMI Mode after restarting.
- While in HDMI Mode, the standard goggles controls may appear unresponsive. Press and hold the Back button for three seconds again to switch back to VRX Mode.
The Avatar Goggles X do not support Apple Mac computers. Connecting them to a Mac may result in a corrupted or distorted image.